Getting the ID from a Dropdown List in Oracle APEX
Dropdown lists (Select Lists) in Oracle APEX are commonly used to allow users to choose from a predefined set of values. Often, each option in the dropdown represents a display value (e.g., a name) and a corresponding ID (e.g., a unique identifier from a database). Retrieving the selected ID is useful for filtering data, setting values dynamically, or passing it to processes.
This tutorial covers multiple methods for retrieving the ID from a dropdown list using SQL, PL/SQL, JavaScript, and Dynamic Actions.
Setting Up the Dropdown List with an ID and Display Value
Before retrieving the ID, you need to create a Select List that stores both the display name and the corresponding ID.
Step 1: Creating the Dropdown (Select List)
Open Page Designer in Oracle APEX.
Click Create → Item.
Select Select List as the item type.
Set the Name to P1_CUSTOMER.
Step 2: Define the List of Values (LOV) Query
A Select List in APEX typically stores two values:
A display value (e.g., customer_name)
A return value (e.g., customer_id)
Example SQL query for retrieving customer data:
SELECT customer_name, customer_id
FROM customers
ORDER BY customer_name;
The first column (customer_name) is displayed in the dropdown.
The second column (customer_id) is stored when an option is selected.
Save and run the page. Now, selecting a customer will store their customer_id in P1_CUSTOMER.
Retrieving the Selected ID in PL/SQL
Once a user selects an option, you can retrieve its corresponding ID in PL/SQL.
Example 1: Display the Selected ID Using a PL/SQL Process
Create a PL/SQL Process under Processing in Page Designer.
Add the following PL/SQL code:
DECLARE
v_customer_id NUMBER;
BEGIN
v_customer_id := :P1_CUSTOMER;
APEX_DEBUG.INFO('Selected Customer ID: ' || v_customer_id);
END;
This code retrieves the selected customer_id and logs it for debugging.
Example 2: Use the ID in a Query to Fetch More Data
If you need to get additional details based on the selected ID, use:
SELECT customer_email, customer_phone
FROM customers
WHERE customer_id = :P1_CUSTOMER;
This query fetches details of the selected customer.
You can assign the values to other page items using Dynamic Actions.
Retrieving the Selected ID Using JavaScript
If you need to retrieve the ID dynamically without submitting the page, you can use JavaScript.
Example 1: Get the ID Using JavaScript
To capture the selected ID in JavaScript, add this script to the Execute JavaScript Code action:
var selectedID = $v("P1_CUSTOMER");
console.log("Selected Customer ID: " + selectedID);
This retrieves the selected value (customer_id) and prints it to the browser console.
Example 2: Store the ID in Another Page Item Using JavaScript
If you need to store the ID in another field dynamically:
$s("P1_SELECTED_CUSTOMER_ID", $v("P1_CUSTOMER"));
This sets the value of P1_SELECTED_CUSTOMER_ID to the selected customer_id.
Using Dynamic Actions to Retrieve the ID
Dynamic Actions allow you to retrieve the selected ID without writing custom JavaScript.
Step 1: Create a New Dynamic Action
Go to Page Designer → Dynamic Actions.
Click Create → Event → Change.
Set Selection Type to Item.
Choose P1_CUSTOMER as the affected item.
Step 2: Add an Action to Set a Page Item
Click Create Action → Set Value.
Set Set Type to Item(s).
In Affected Elements, select P1_SELECTED_CUSTOMER_ID.
Under Set Value, choose SQL Query and enter:
SELECT customer_id FROM customers WHERE customer_id = :P1_CUSTOMER;
This assigns the selected ID to P1_SELECTED_CUSTOMER_ID dynamically.
Save and run the page. The ID updates in real time when a new option is selected.
Best Use Cases for Retrieving the Dropdown ID
Filtering Reports: Use the selected ID to dynamically filter an Interactive Report or Classic Report.
Updating Another Field: Populate text fields, emails, or addresses based on the selected value.
Passing Data to PL/SQL: Use the ID in page processes, validations, or calculations.
AJAX-Based Updates: Retrieve additional details without a full page reload.
Retrieving the selected ID from a dropdown list in Oracle APEX is essential for interactive applications.
PL/SQL is useful for backend processing and queries.
JavaScript enables real-time updates without reloading the page.
Dynamic Actions provide a no-code approach for setting values based on selections.
By combining these methods, you can create efficient and user-friendly applications that dynamically respond to user input.
EXAMPLE:
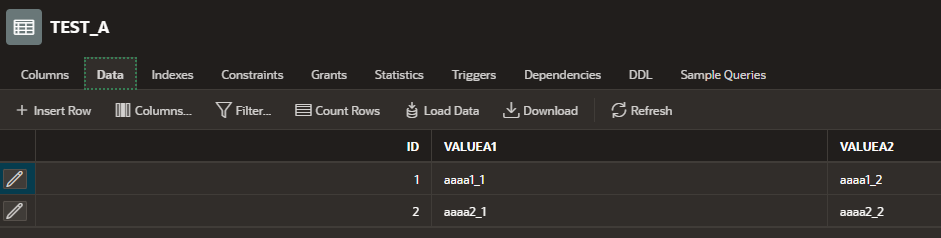
Assuming that we have a table like the following:
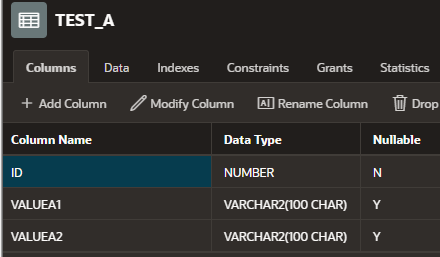
Where Table TEST_A has the following data
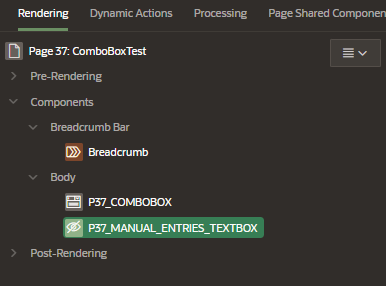
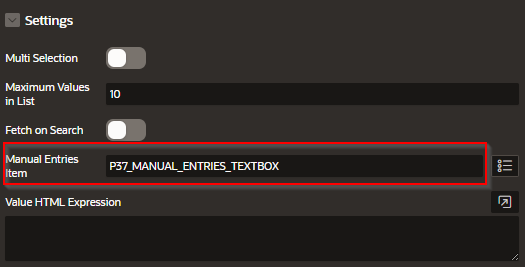
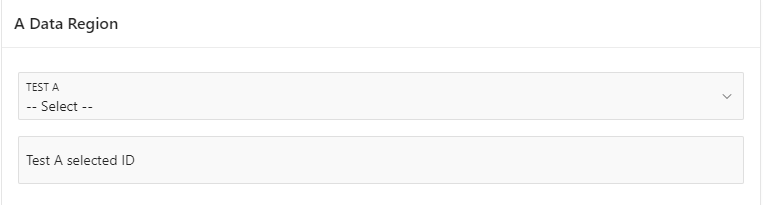
And that we have a dropdown box
Displaying the text of ValueA1
With a value of “ID” from the table

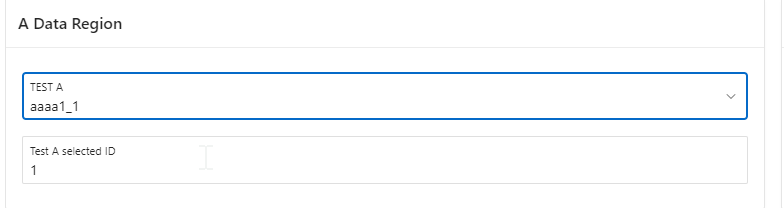
What we want to do is save the value from the dropdown list into a text box when we select the value.
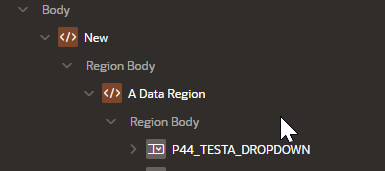
Step 1 – Add a “Select List” to the application
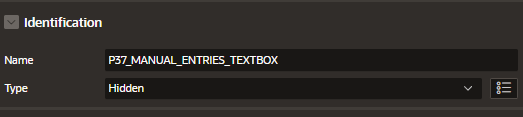
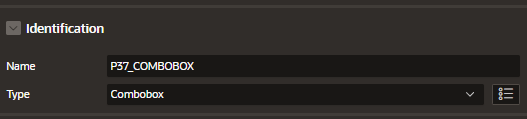
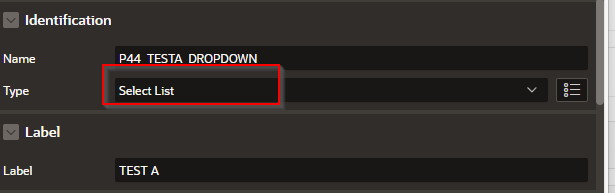
Step 2 – Give it a descriptive name and be sure that you select “Select List”
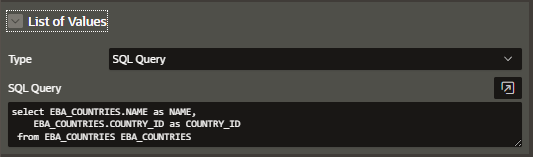
In the List of Values area, add the following:
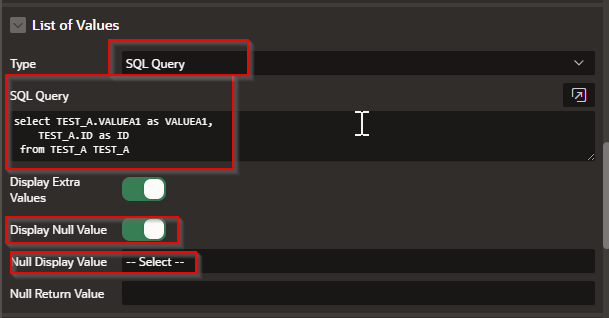
Your code should look something like this:
select TEST_A.VALUEA1 as VALUEA1,
TEST_A.ID as ID
from TEST_A TEST_A
**** Notice that the placement of the first column will be assigned to the displayed “text” and the second column to the “value”.
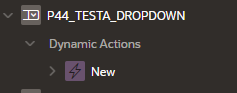
Step 3 – Add a dynamic action to the list.
Step 4 – Add (or use if already created) a TRUE branch and enter the following
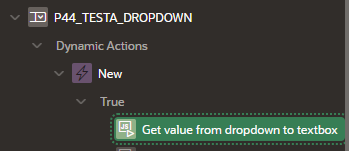

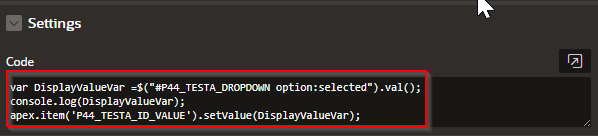
Your code should look like this:
var DisplayValueVar =$("#P44_TESTA_DROPDOWN option:selected").val();
console.log(DisplayValueVar);
apex.item('P44_TESTA_ID_VALUE').setValue(DisplayValueVar);
var DisplayValueVar - Save into this declared variable named DisplayValueVar
The value of the P44_TESTA_DROPDOWN control
$("#P44_TESTA_DROPDOWN option:selected").val();
The $(“CoNTROL_NAME”) identifies what control you want to get values from
The option:selected is what identifies what you selected from the control.
.val(); gets the value
If you wanted to get the text from the list you would use .text();
Saves to the browser javascript console:
console.log(DisplayValueVar);
Saves the value from the variable into the TEXT BOX 'P44_TESTA_ID_VALUE’
apex.item('P44_TESTA_ID_VALUE').setValue(DisplayValueVar);
Step 5 – Add a second true branch
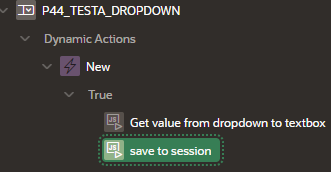
Set the following values
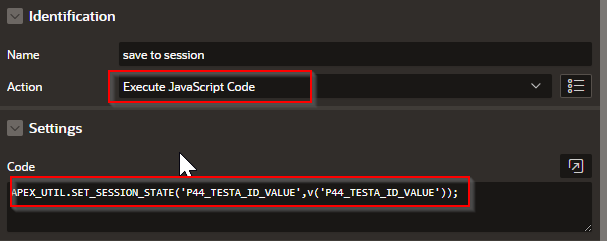
The following javascript code saves the values into the APEX SESSION for further use in the app.
APEX_UTIL.SET_SESSION_STATE('P44_TESTA_ID_VALUE',v('P44_TESTA_ID_VALUE'));
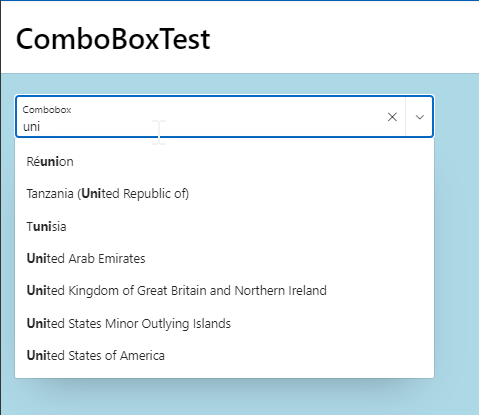
Final product should look something like this next image where the selected data value is selected and the id of that value is displayed in the textbox below upon selection.